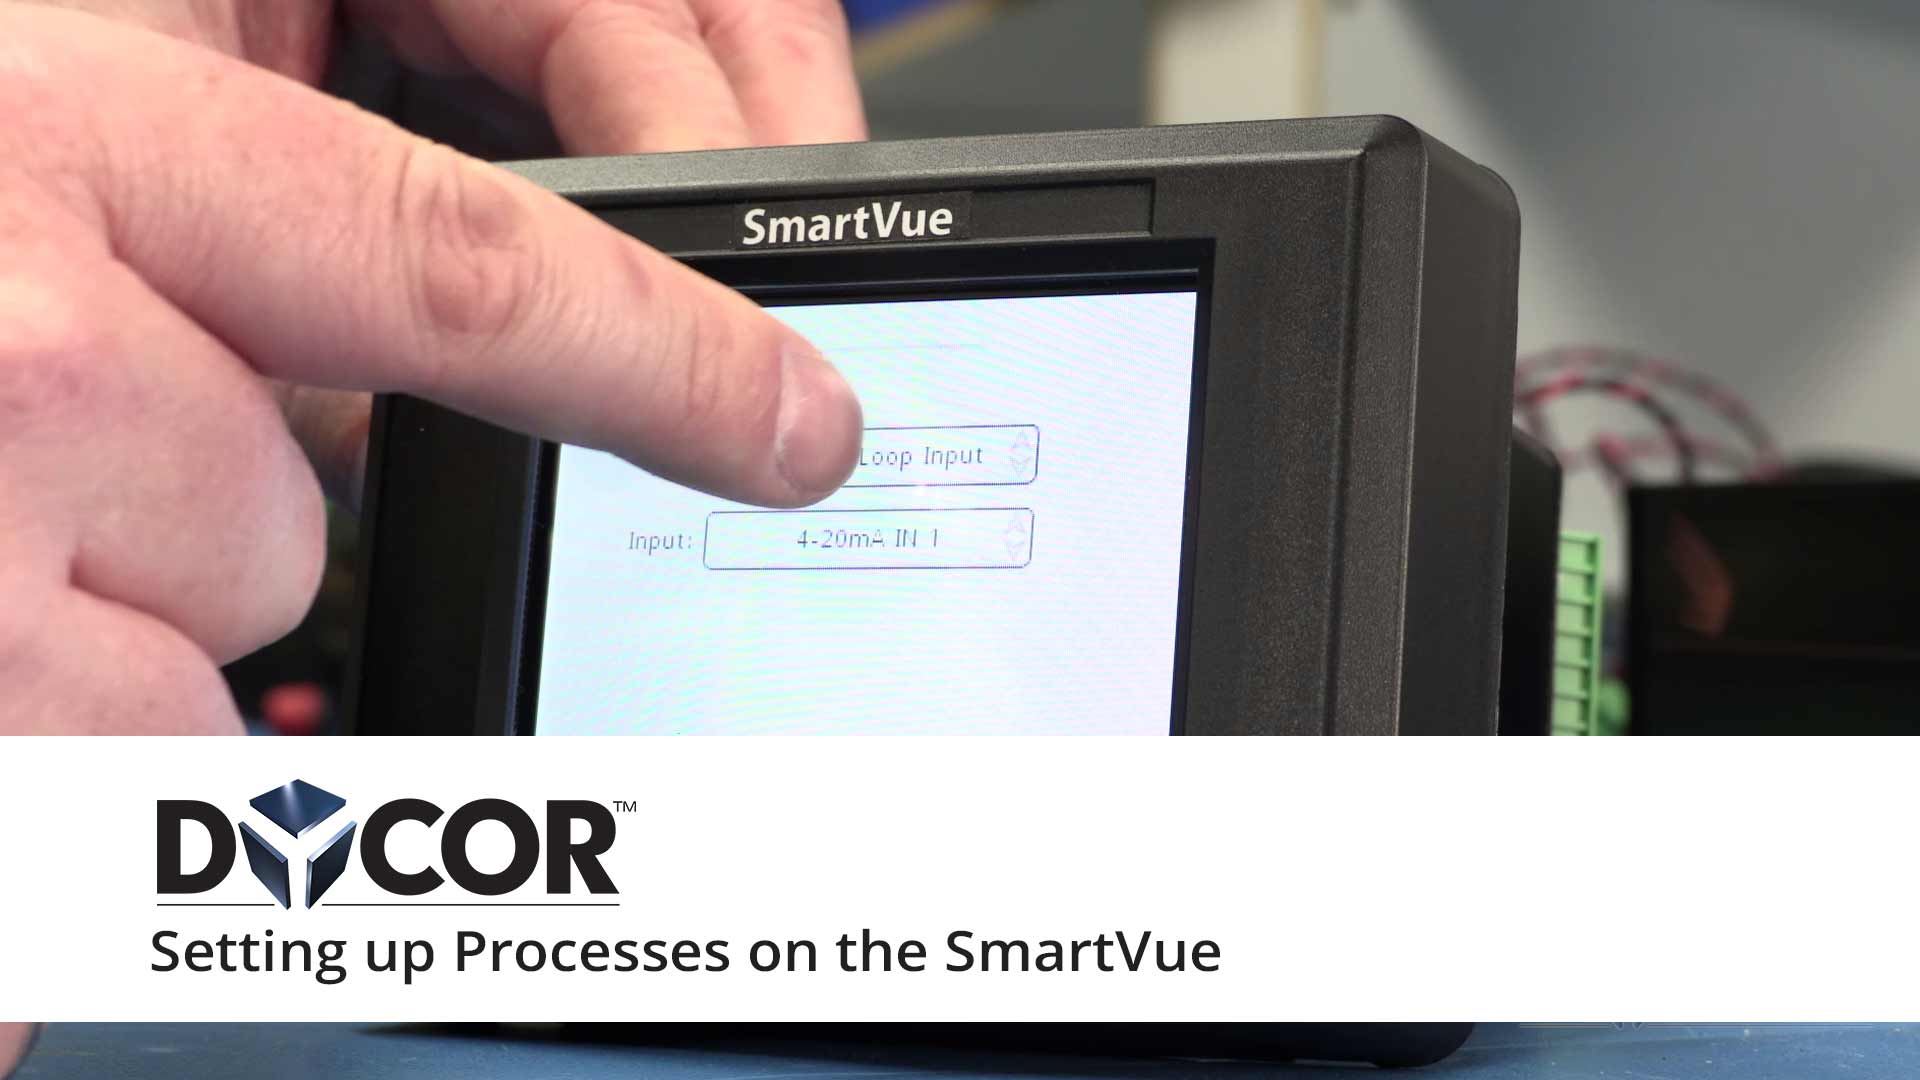
After the SmartVue has been tested, we put the current version of the firmware on it, and right now I’m gonna show you how to set up a simple process, and display that process data on the screen, on the meter screen.
When you power up a SmartVue, it’s pre-configured with a process and a meter, so that you can actually see some data when you first turn it on. But we’re gonna add a process to measure the temperature from the sensor that’s installed on the back. So I press the Menu button. I’m going to press the Processes button, and you can see the existing Process One, I’m gonna add a Process Two, it says Disabled now, but I’m going to now enable it, and select the type of process, which says Temperature. I’ll type in a name for that process, and I’ll simply call it Temp One. I’m going to give it units of degrees Celsius, but I could also choose degrees Fahrenheit, or Kelvin if I want to. I’ll just leave it at degrees Celsius, and say, Okay. And, there’s my Process Two.
I’m still showing Process One on the meter screen, so now I wanna display a meter for that new temperature process. So I’m gonna replace this, this rate counter process, with the temperature process I just created, and I do that by pressing the Meters button on the main menu, and I’m going to change this Meter One, from the existing default process, to the P2 Temp One process that I just created, and I’m gonna choose a digital meter.
Now I’ll select Exit, Okay, Exit back to the meter screen, and it’s now showing the ambient temperature from that sensor. If I wanna add an analog, or rather, a graph, so that I can see history of that, I can change the meter to a History Graph, and then the color, and the type of line, thin or thick or filled, and I’ll change the scale of that meter, I’ll say maybe 30 degrees will be the upper limit on the graph, Exit, Okay. Exit from the main menu.
And there is a history graph of the temperature data.
And that’s how simple it is to set up a SmartVue.
(Transcribed from Video: https://youtu.be/_D0iv9uwqpM )

